
Dates
2-3-4 of February 2026
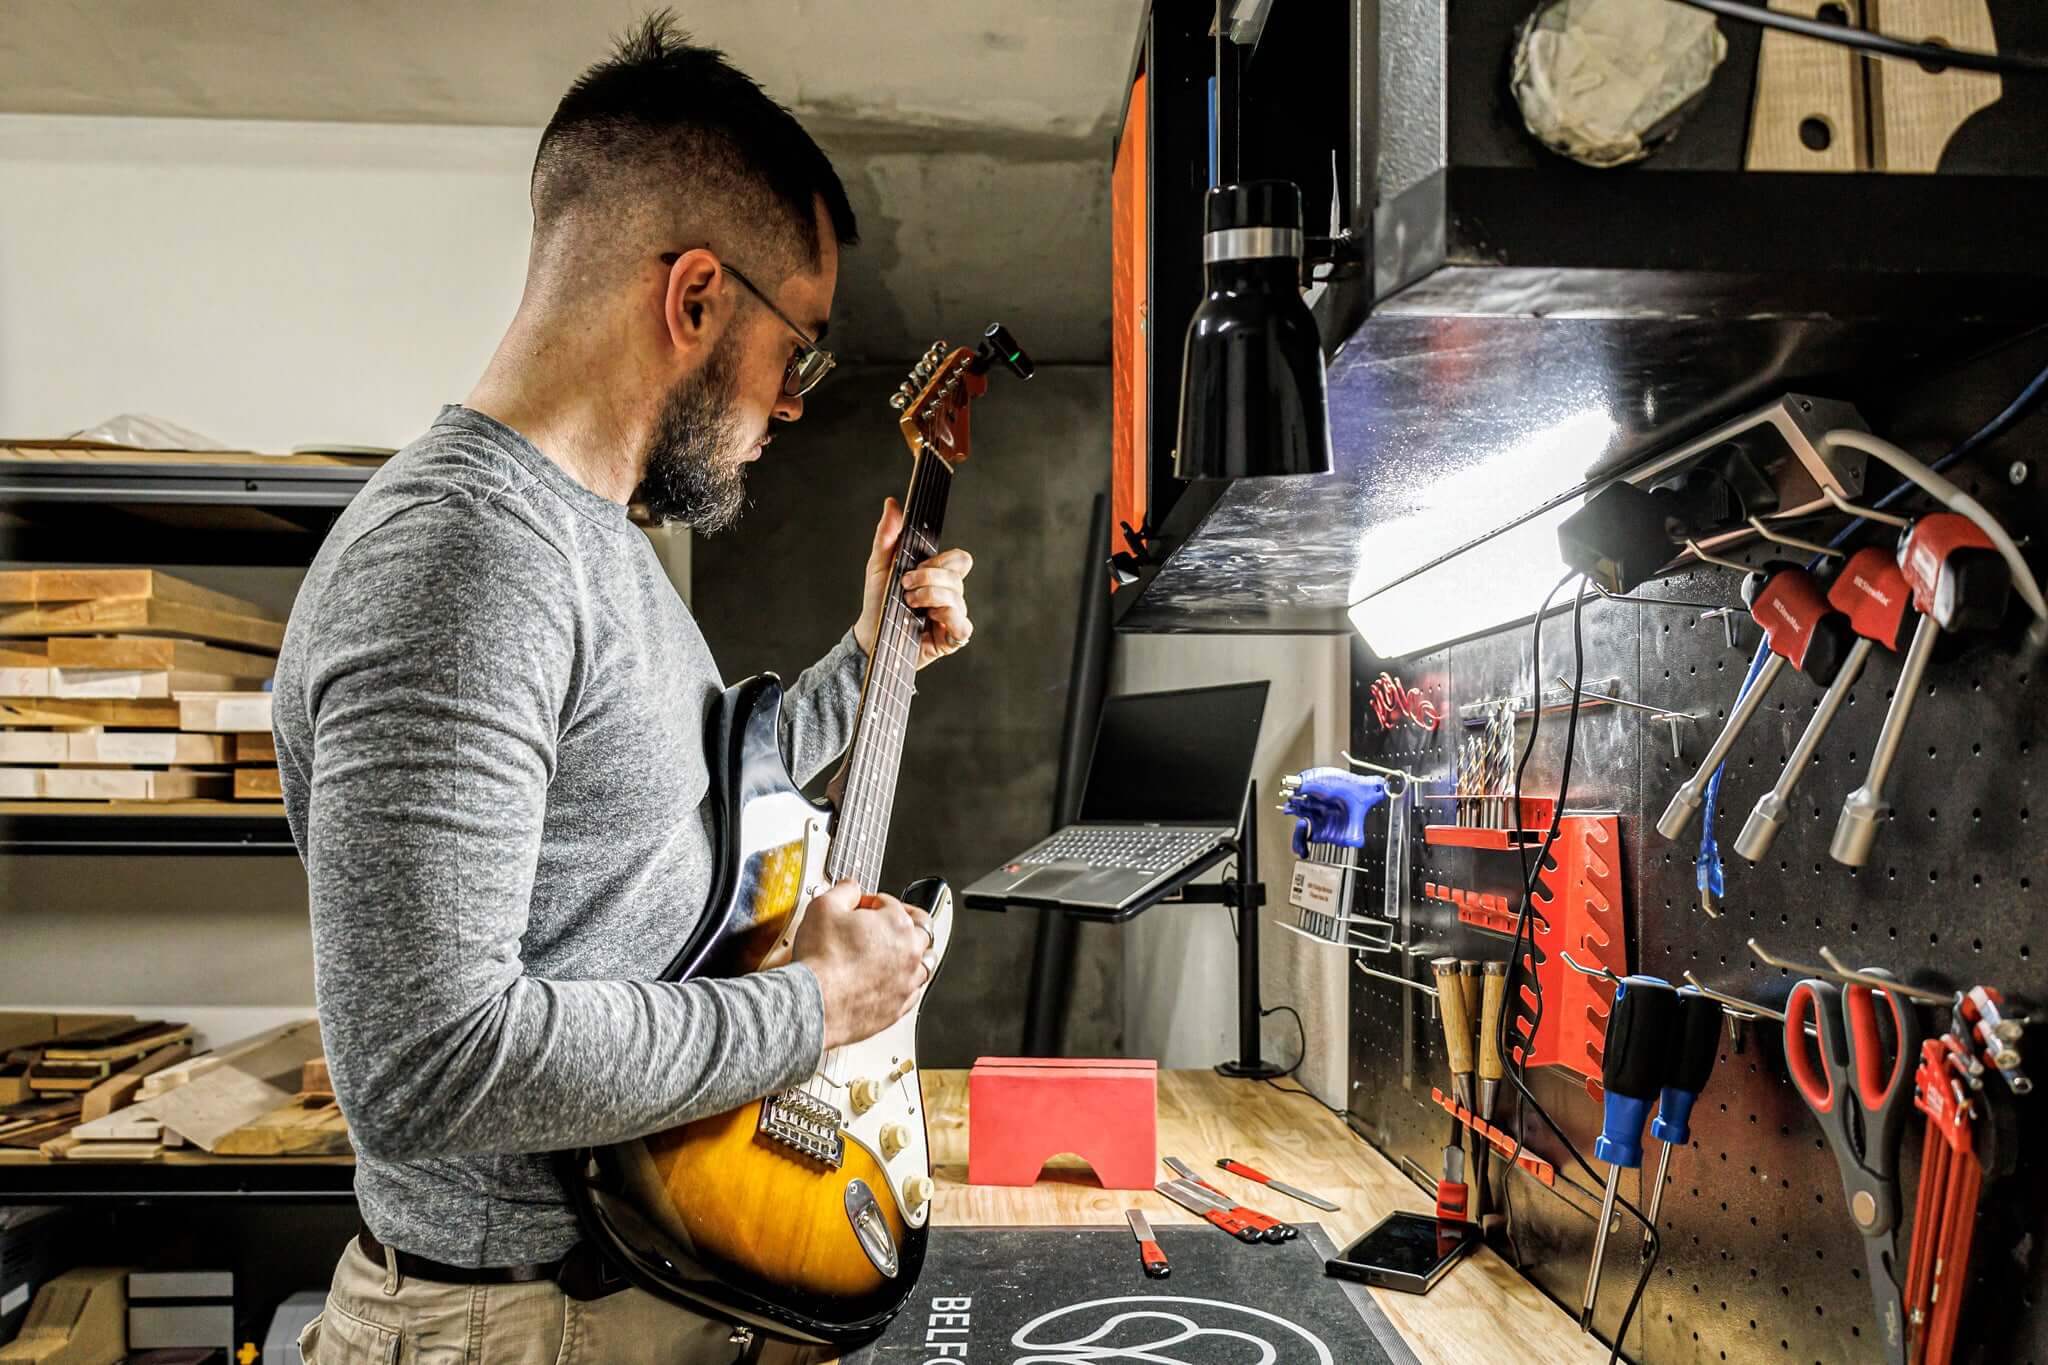
Who it’s for
Musicians, beginners in lutherie, and anyone who wants a clear, practical understanding of how to make an instrument play its best.
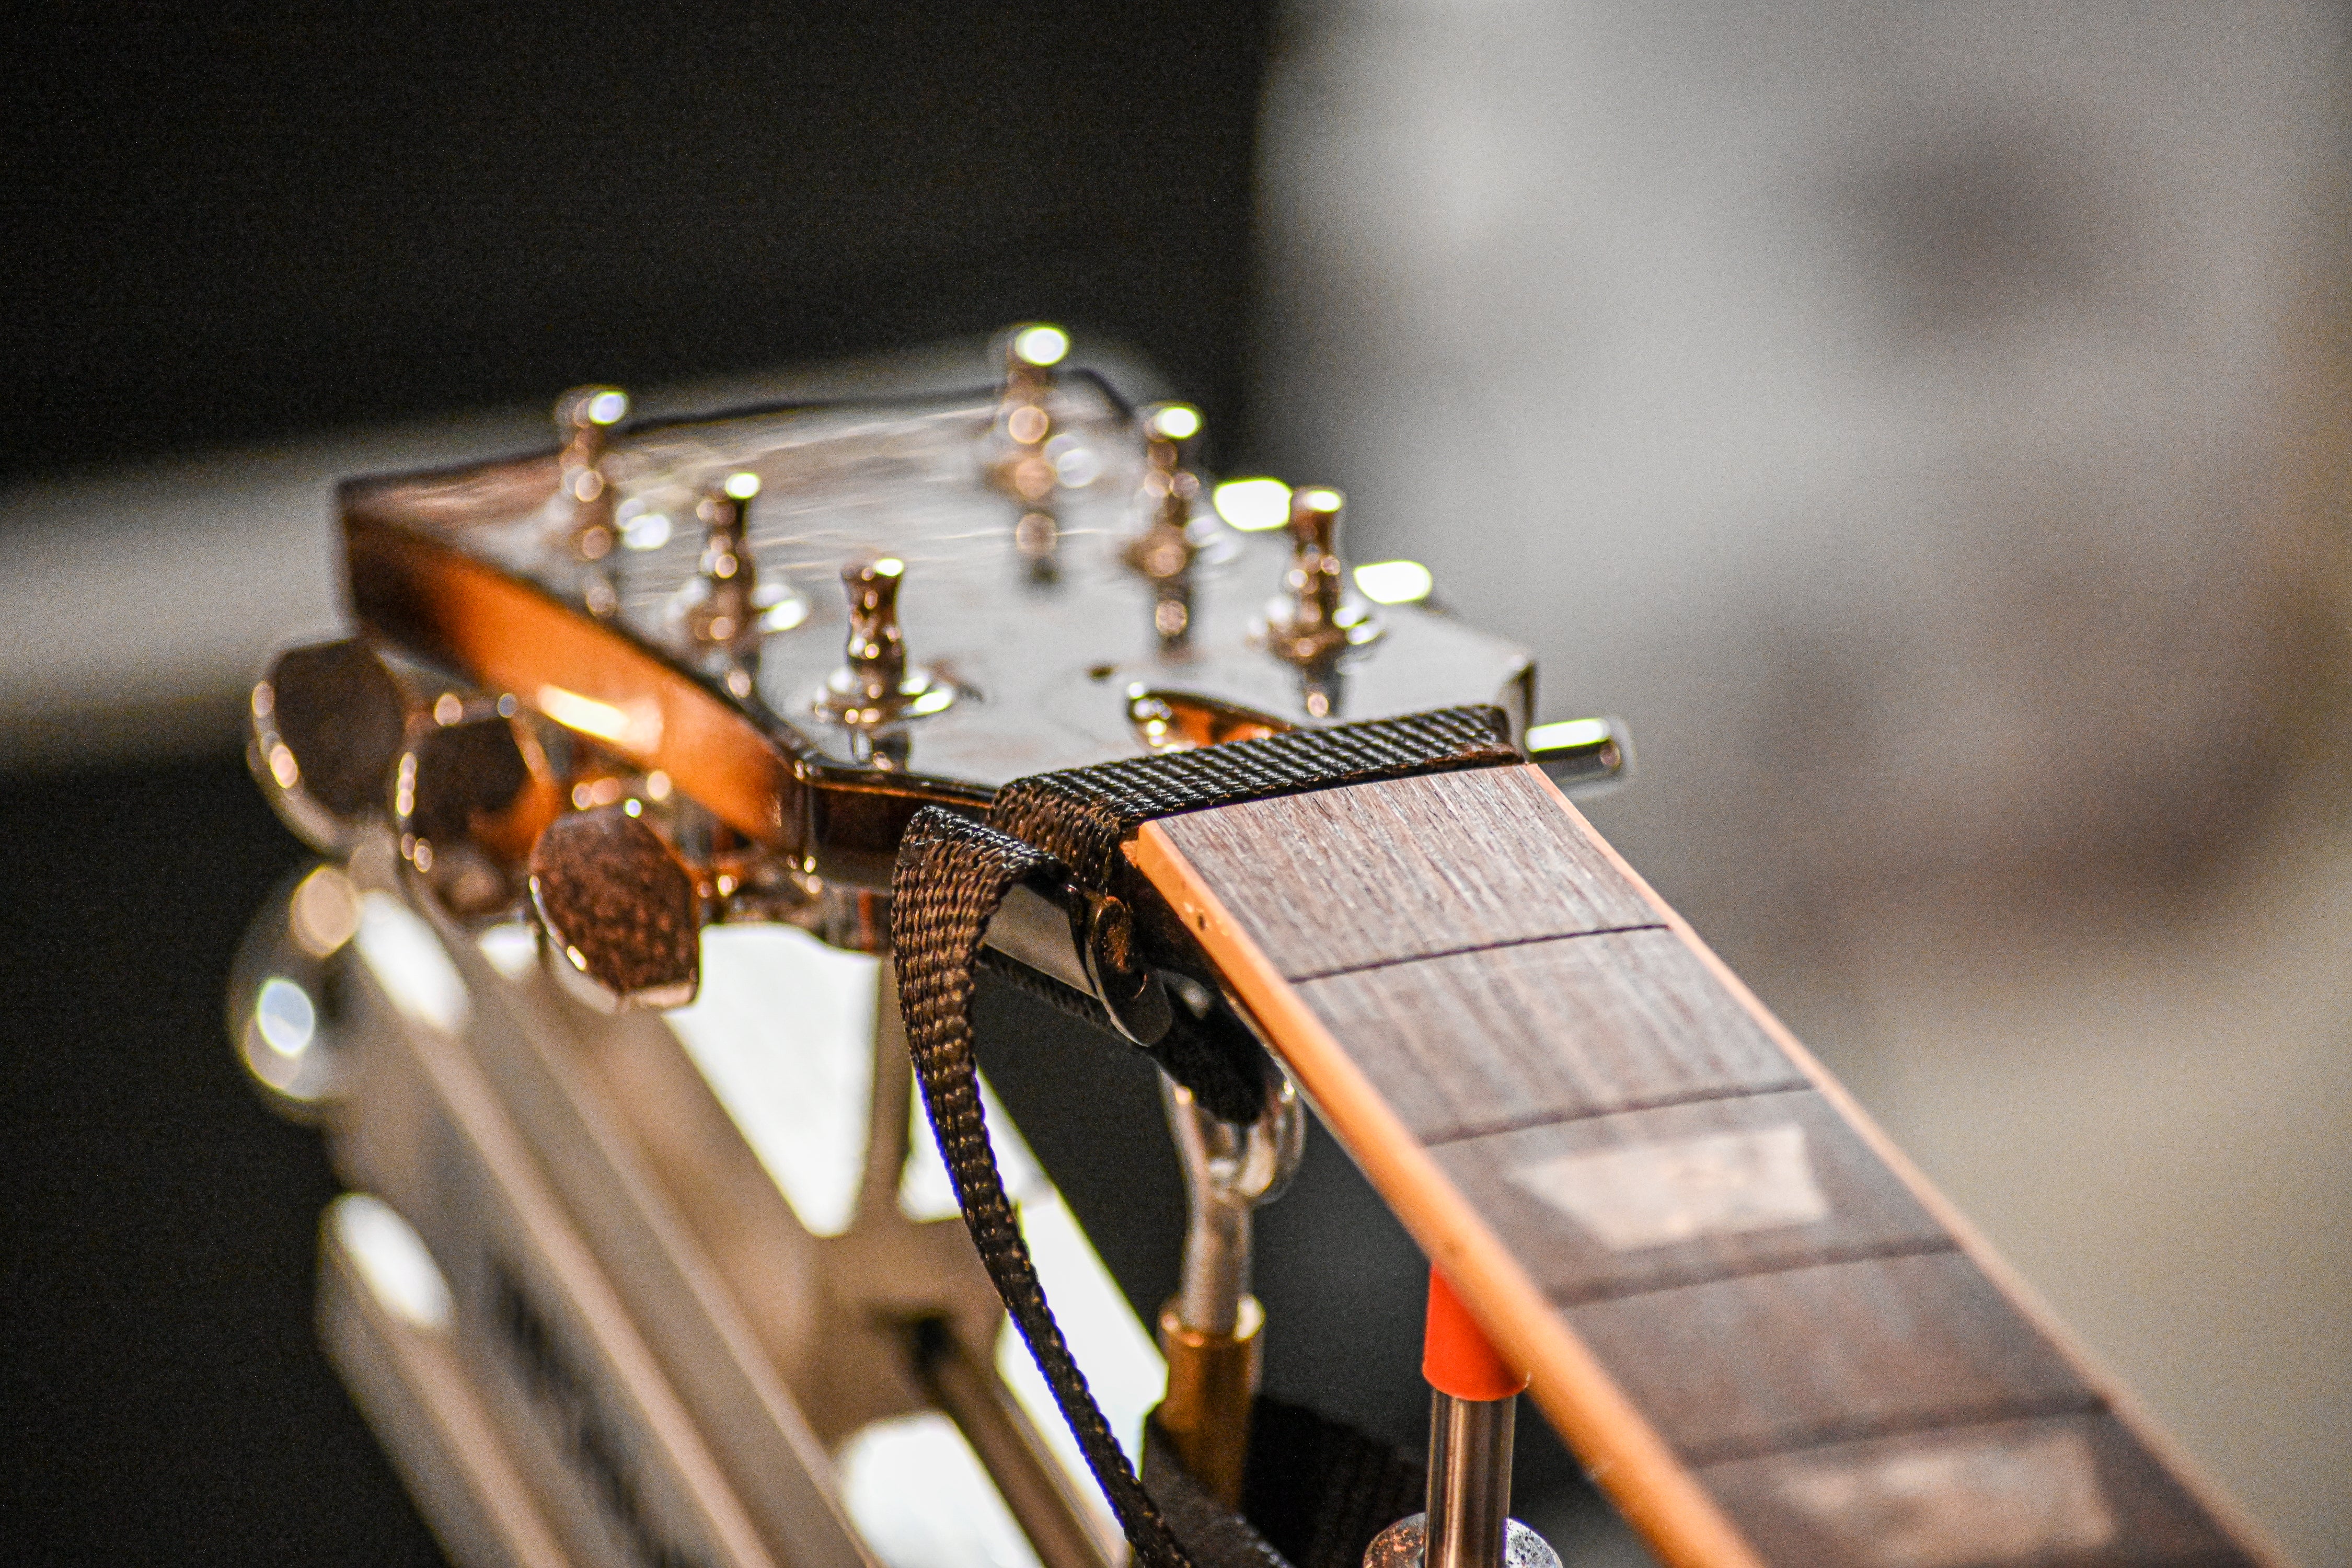
What you need to bring
One guitar or bass (electric or acoustic).
All the tools will be shared and available at the shop.
You will be able to order the tool kit from Belforti if you want to leave with the same tools as the ones you will practice with
Duration & Group Size
3 days — 4 to 5 participants.
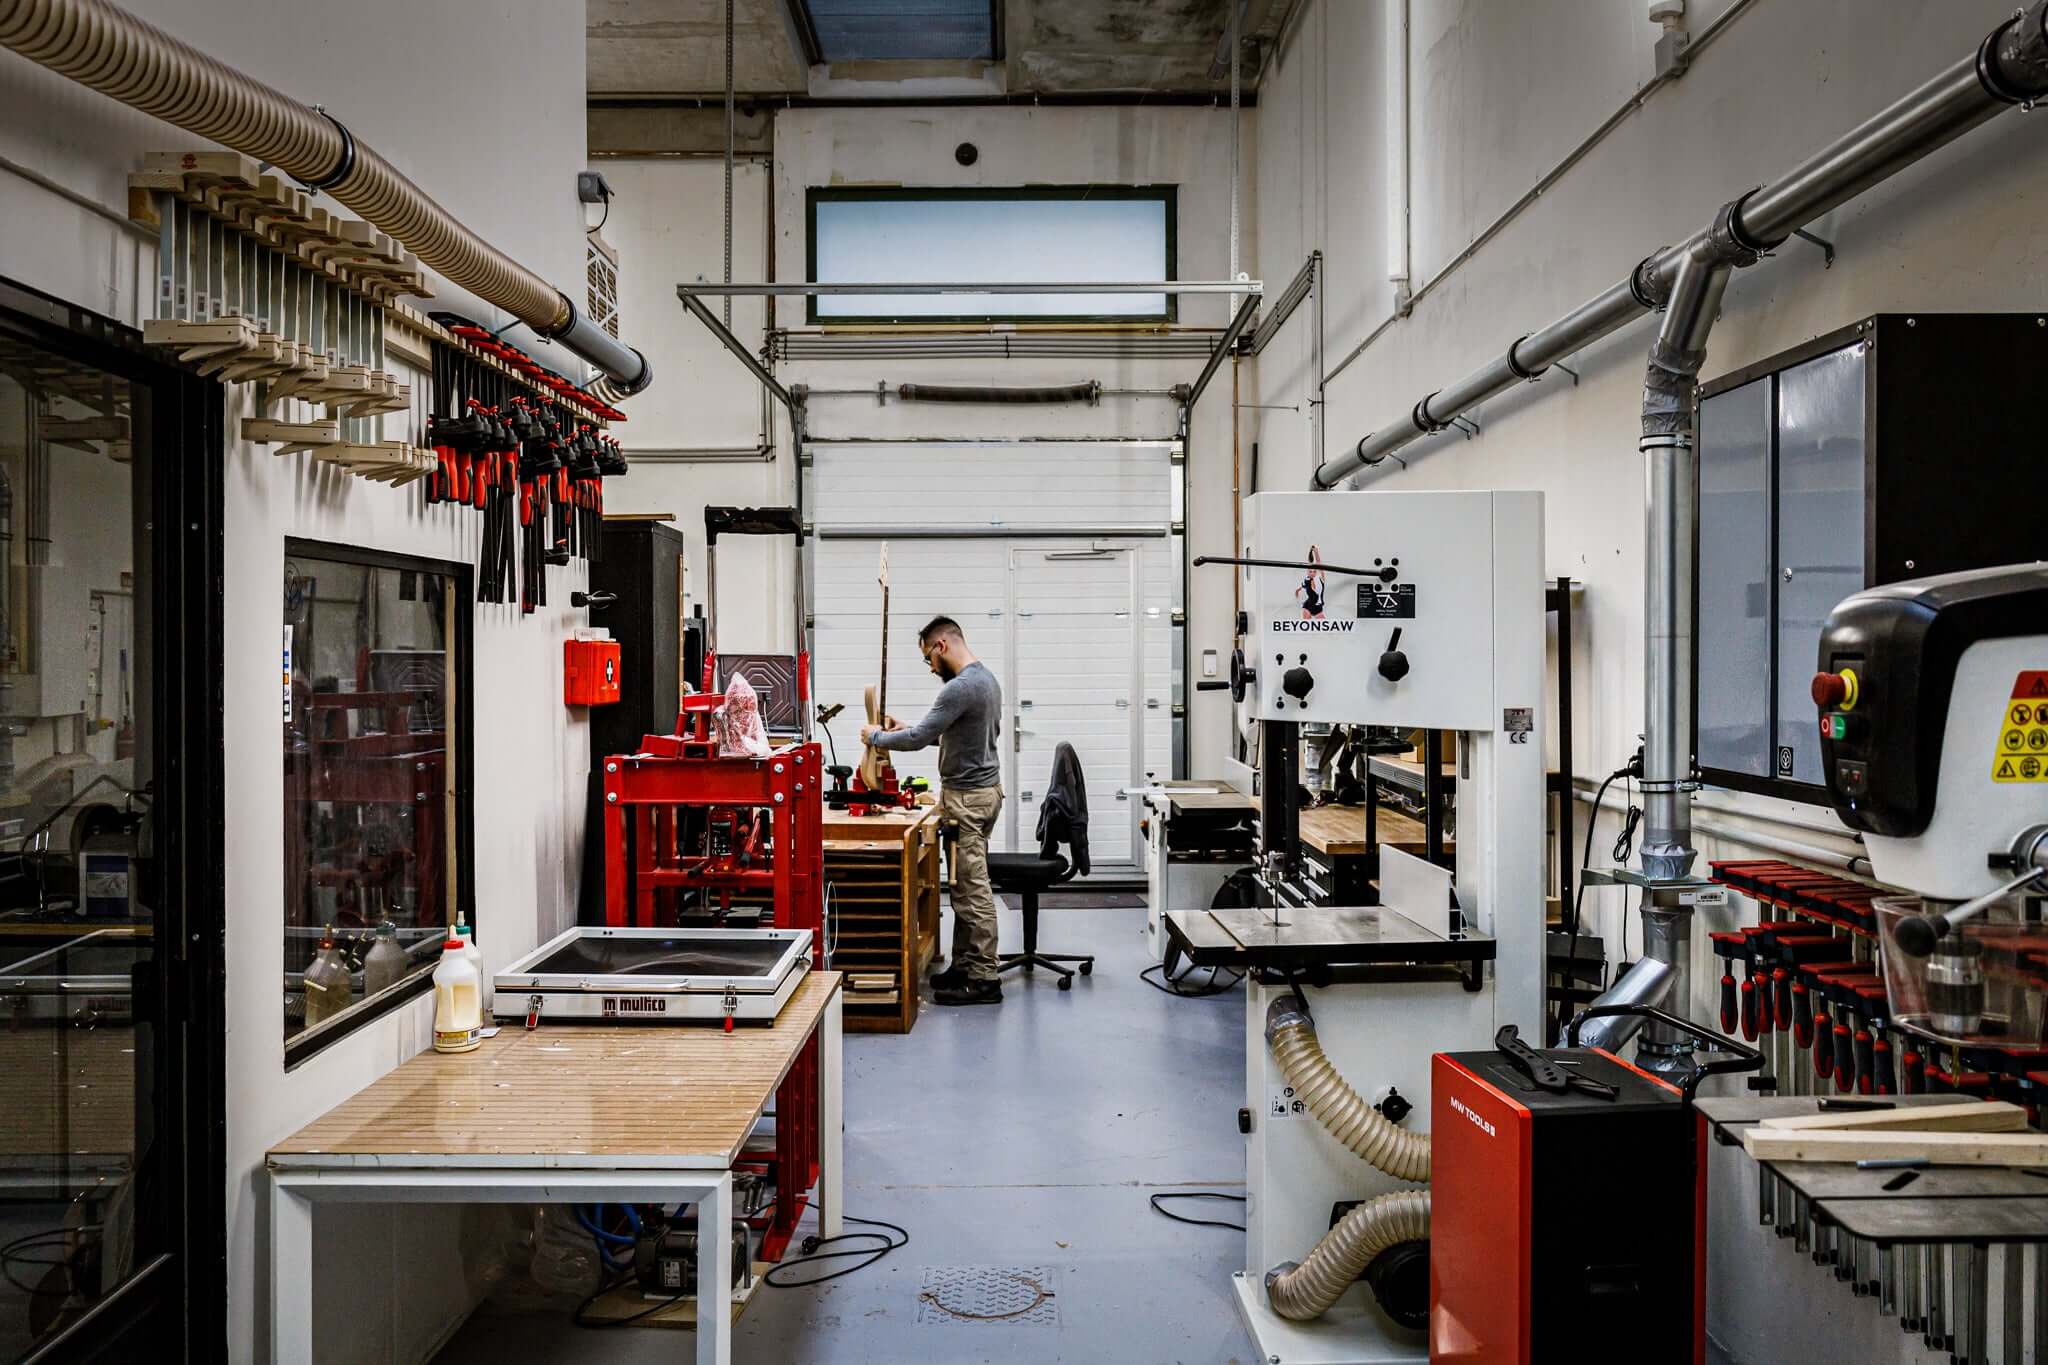
Disclaimer
This workshop focuses on learning a professional setup workflow and improving your own instrument. It is not a repair or restoration service. Structural issues (twisted necks, loose truss rods, cracks, major fretwork, electronic failures beyond basic components, etc.) cannot be addressed during the course. Results depend on the condition of the instrument you bring; heavily damaged or poorly built instruments may not respond to a complete setup. The goal is to teach you a reliable, repeatable method—not to guarantee a factory-level transformation of any instrument.