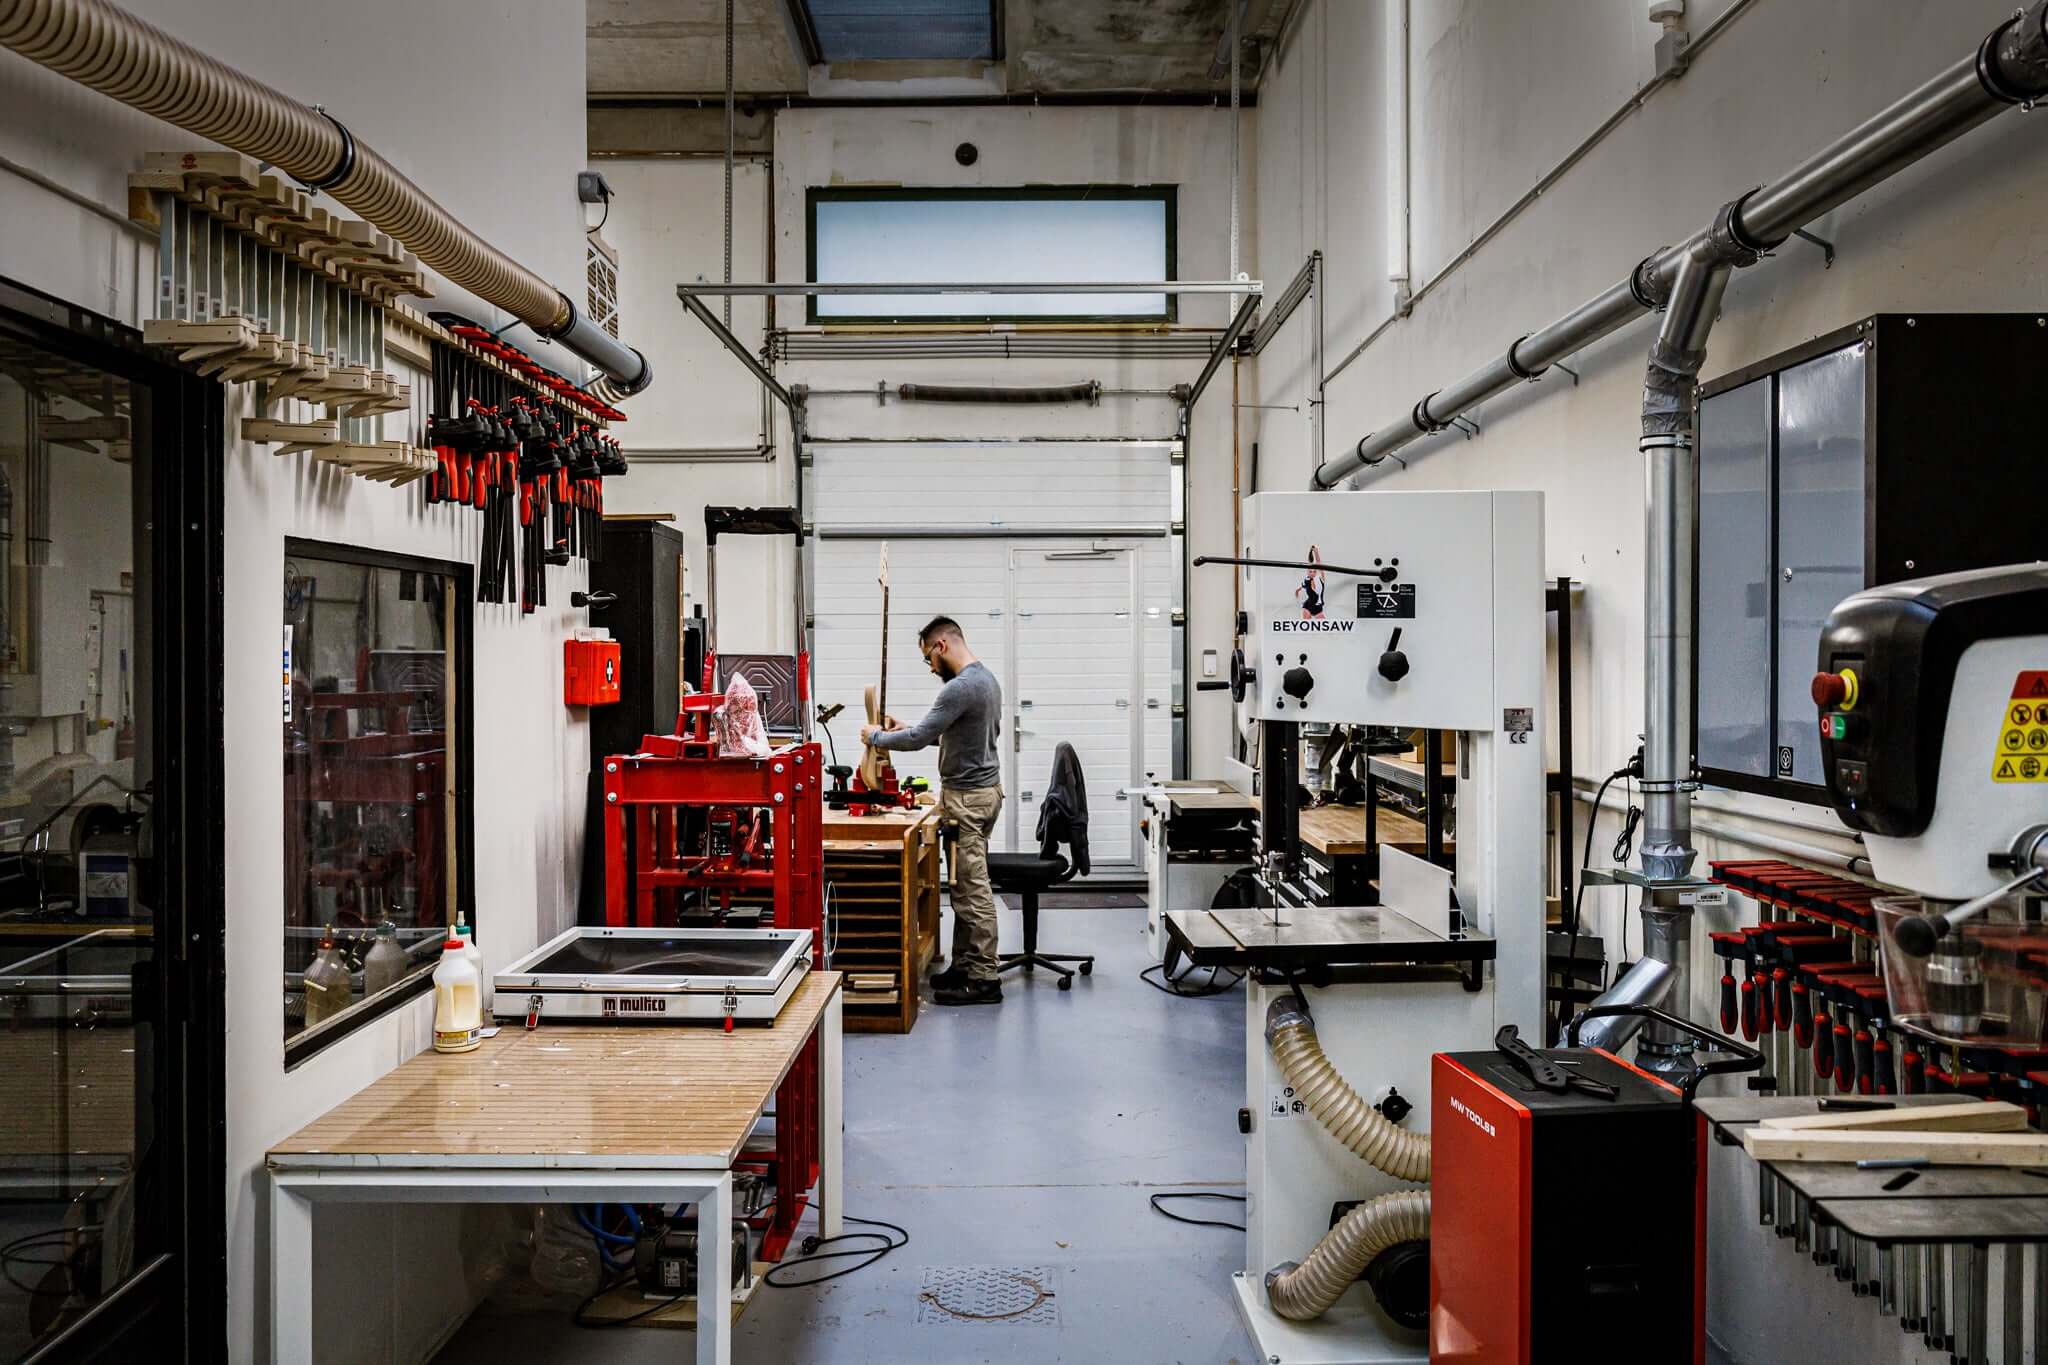
Craftsman shaping wood on workbench with tools, highlighting Belforti craftsmanship.

3-Week Electric Guitar & Bass Build Program

This intensive three-week program teaches you how to build a full electric guitar or bass completely from scratch. No kits, no shortcuts — you start with raw wood blanks and finish with a fully playable, professionally assembled instrument made with your own hands. Using Belforti templates and a clean, structured workflow, you’ll learn body routing, neck carving, fret installation, finishing, electronics, and setup.

Supervised closely, you progress through every major operation of modern lutherie, learning not only how to do each step, but why it matters.

Clear pacing, safe methods, and premium guidance make this one of the most complete short-format lutherie build programs available in Europe.

Discover Our 3 Weeks Guided Course

We offer this unique building experience in our manufacture, to allow passionate players, lutherie enthusiasts and wood lovers to build their guitar with help, and the same tools, process and expertise we use for every Belforti Instrument

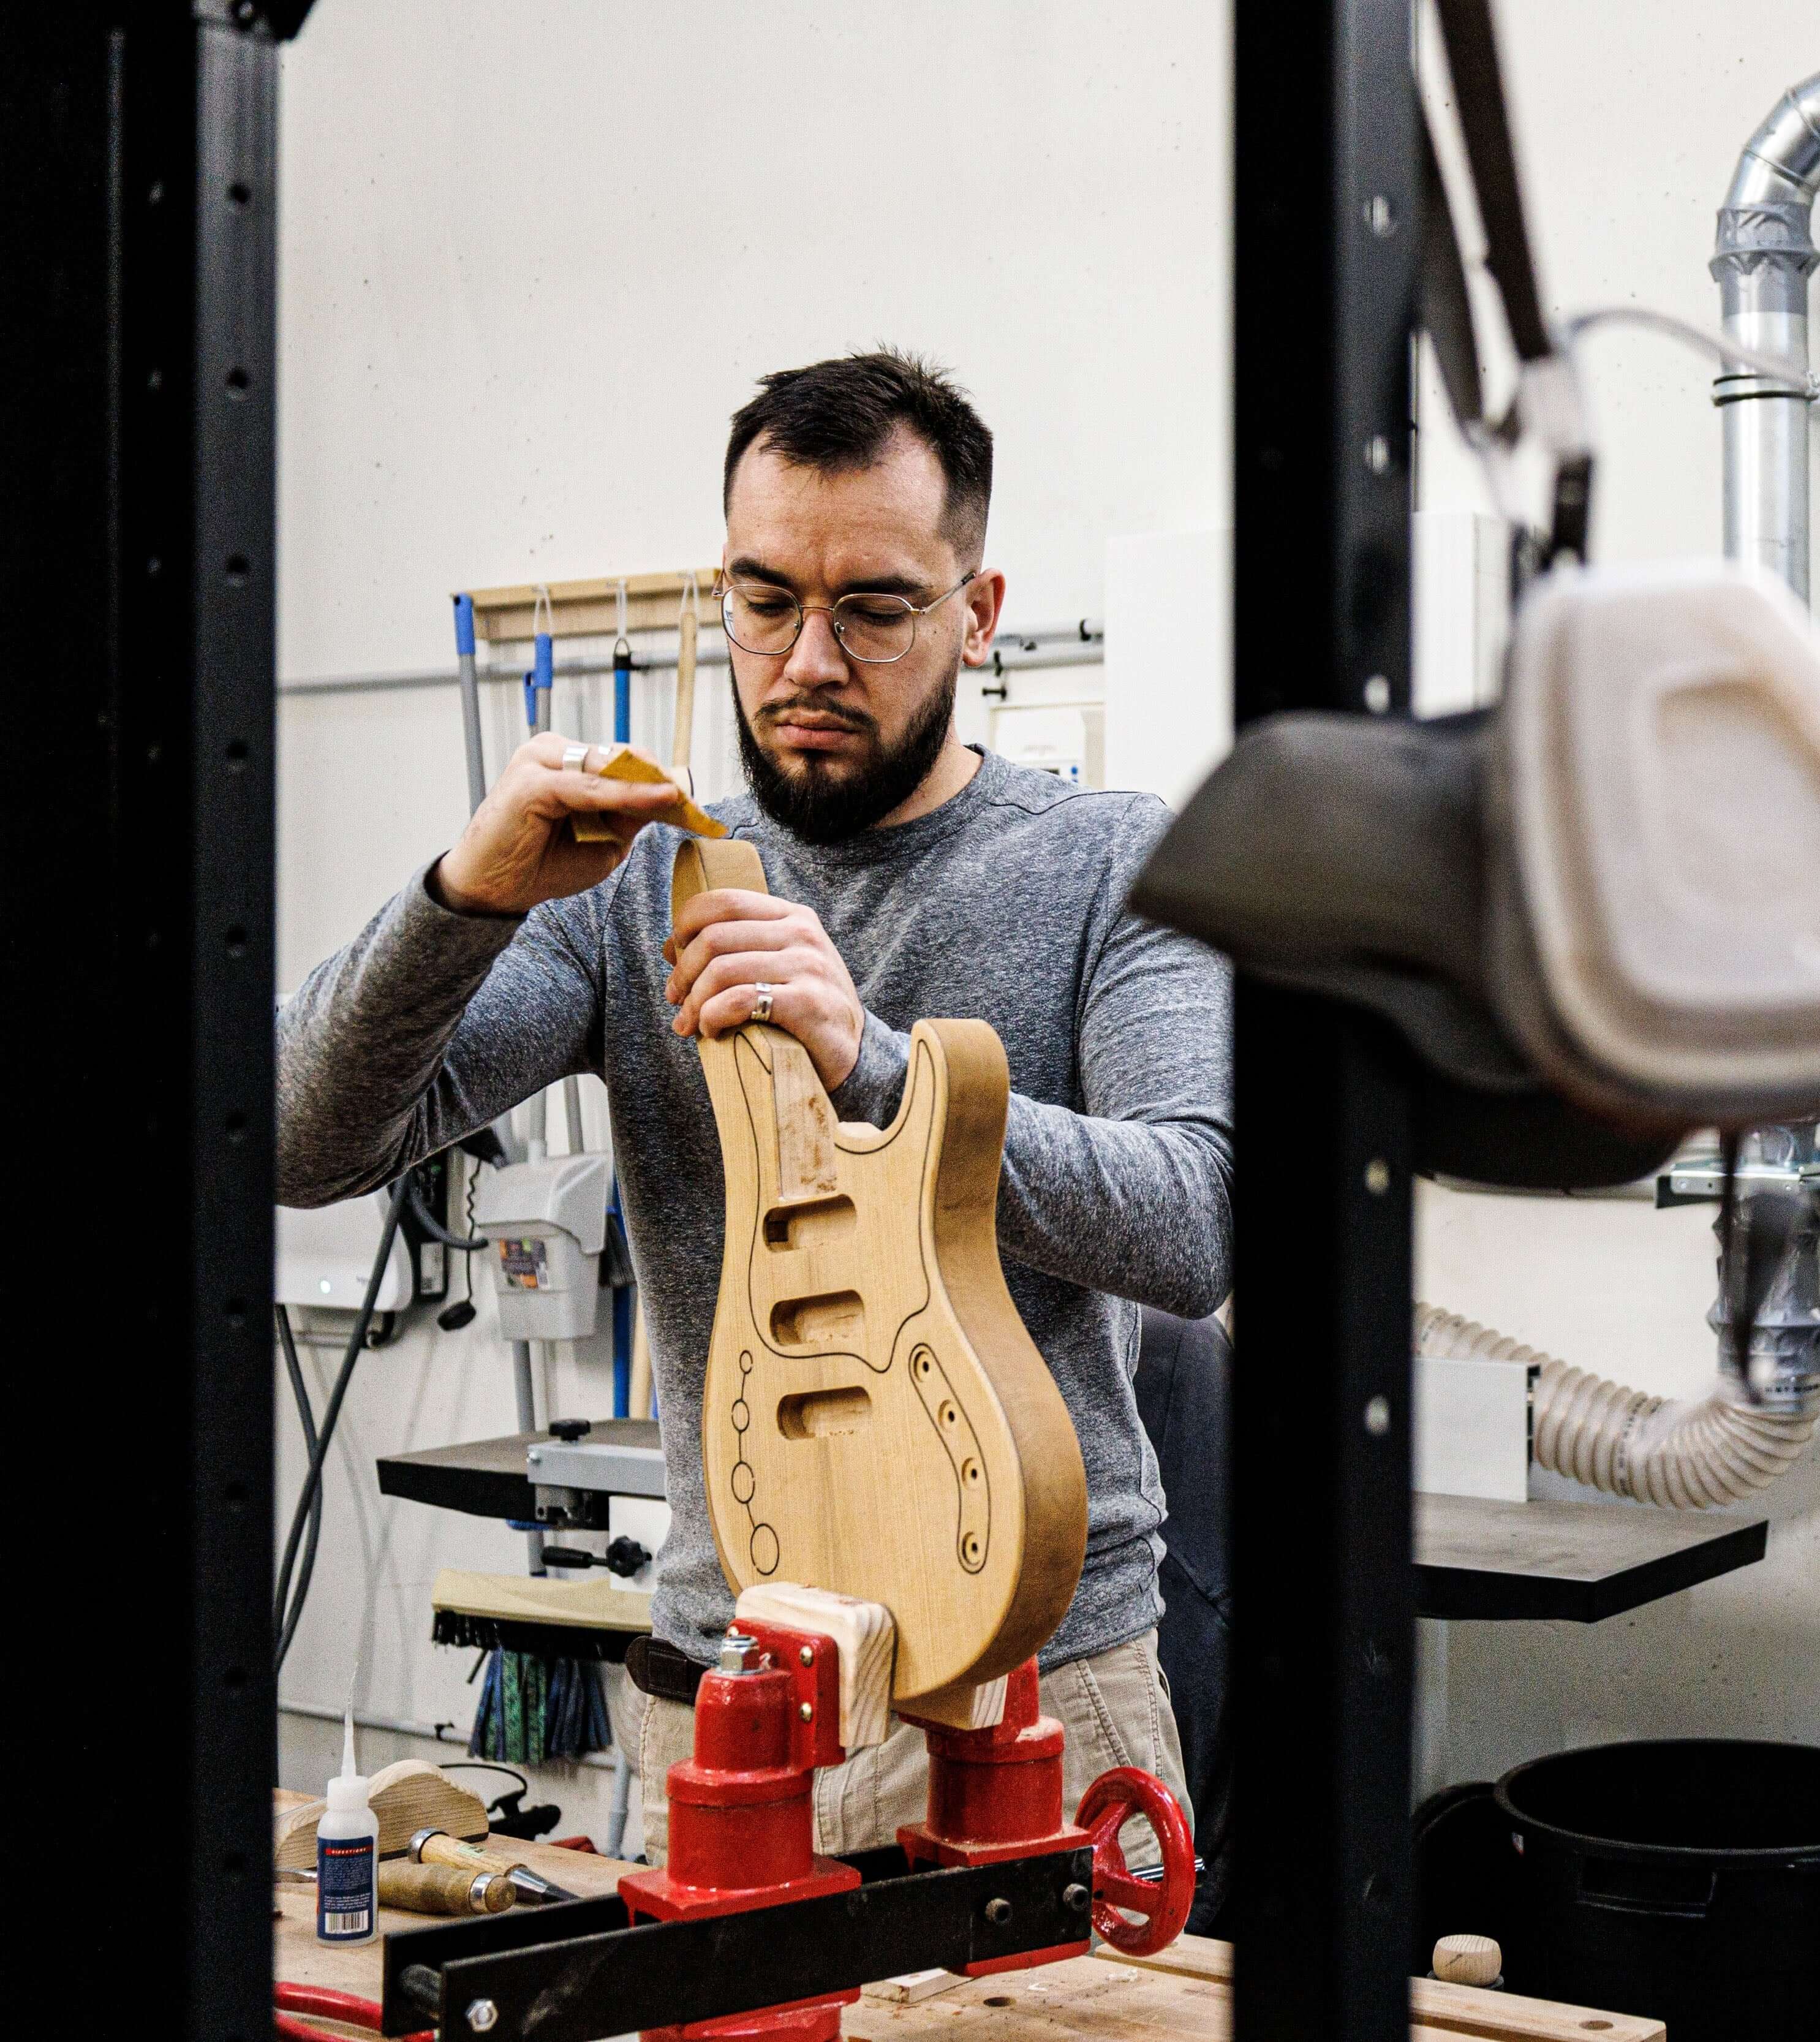
Craftsman shaping guitar body in workshop, focusing on precise detail work, Belforti woodworking.

A True Full-Build Experience

This course is far beyond a kit assembly. You won’t be gluing together pre-machined parts — you’ll be routing cavities, carving neck profiles, and sanding your way to a finish you can be proud of. We’ve structured the build to guarantee success, using tried-and-true Stratocaster, Telecaster, Jazz Bass, and Precision Bass formats, while allowing enough room for personal input and individual feel.

Here is how this course is different :

  • all essential operations are taught,
  • nothing is rushed,
  • you build safely,
  • and you finish on time, because the templates, materials, and workflow are specifically engineered for teaching high-quality, first-time full builds.

You get the full satisfaction of shaping wood, routing cavities, carving a neck, installing frets, applying finish, wiring electronics — and leaving with a complete instrument you genuinely built yourself.

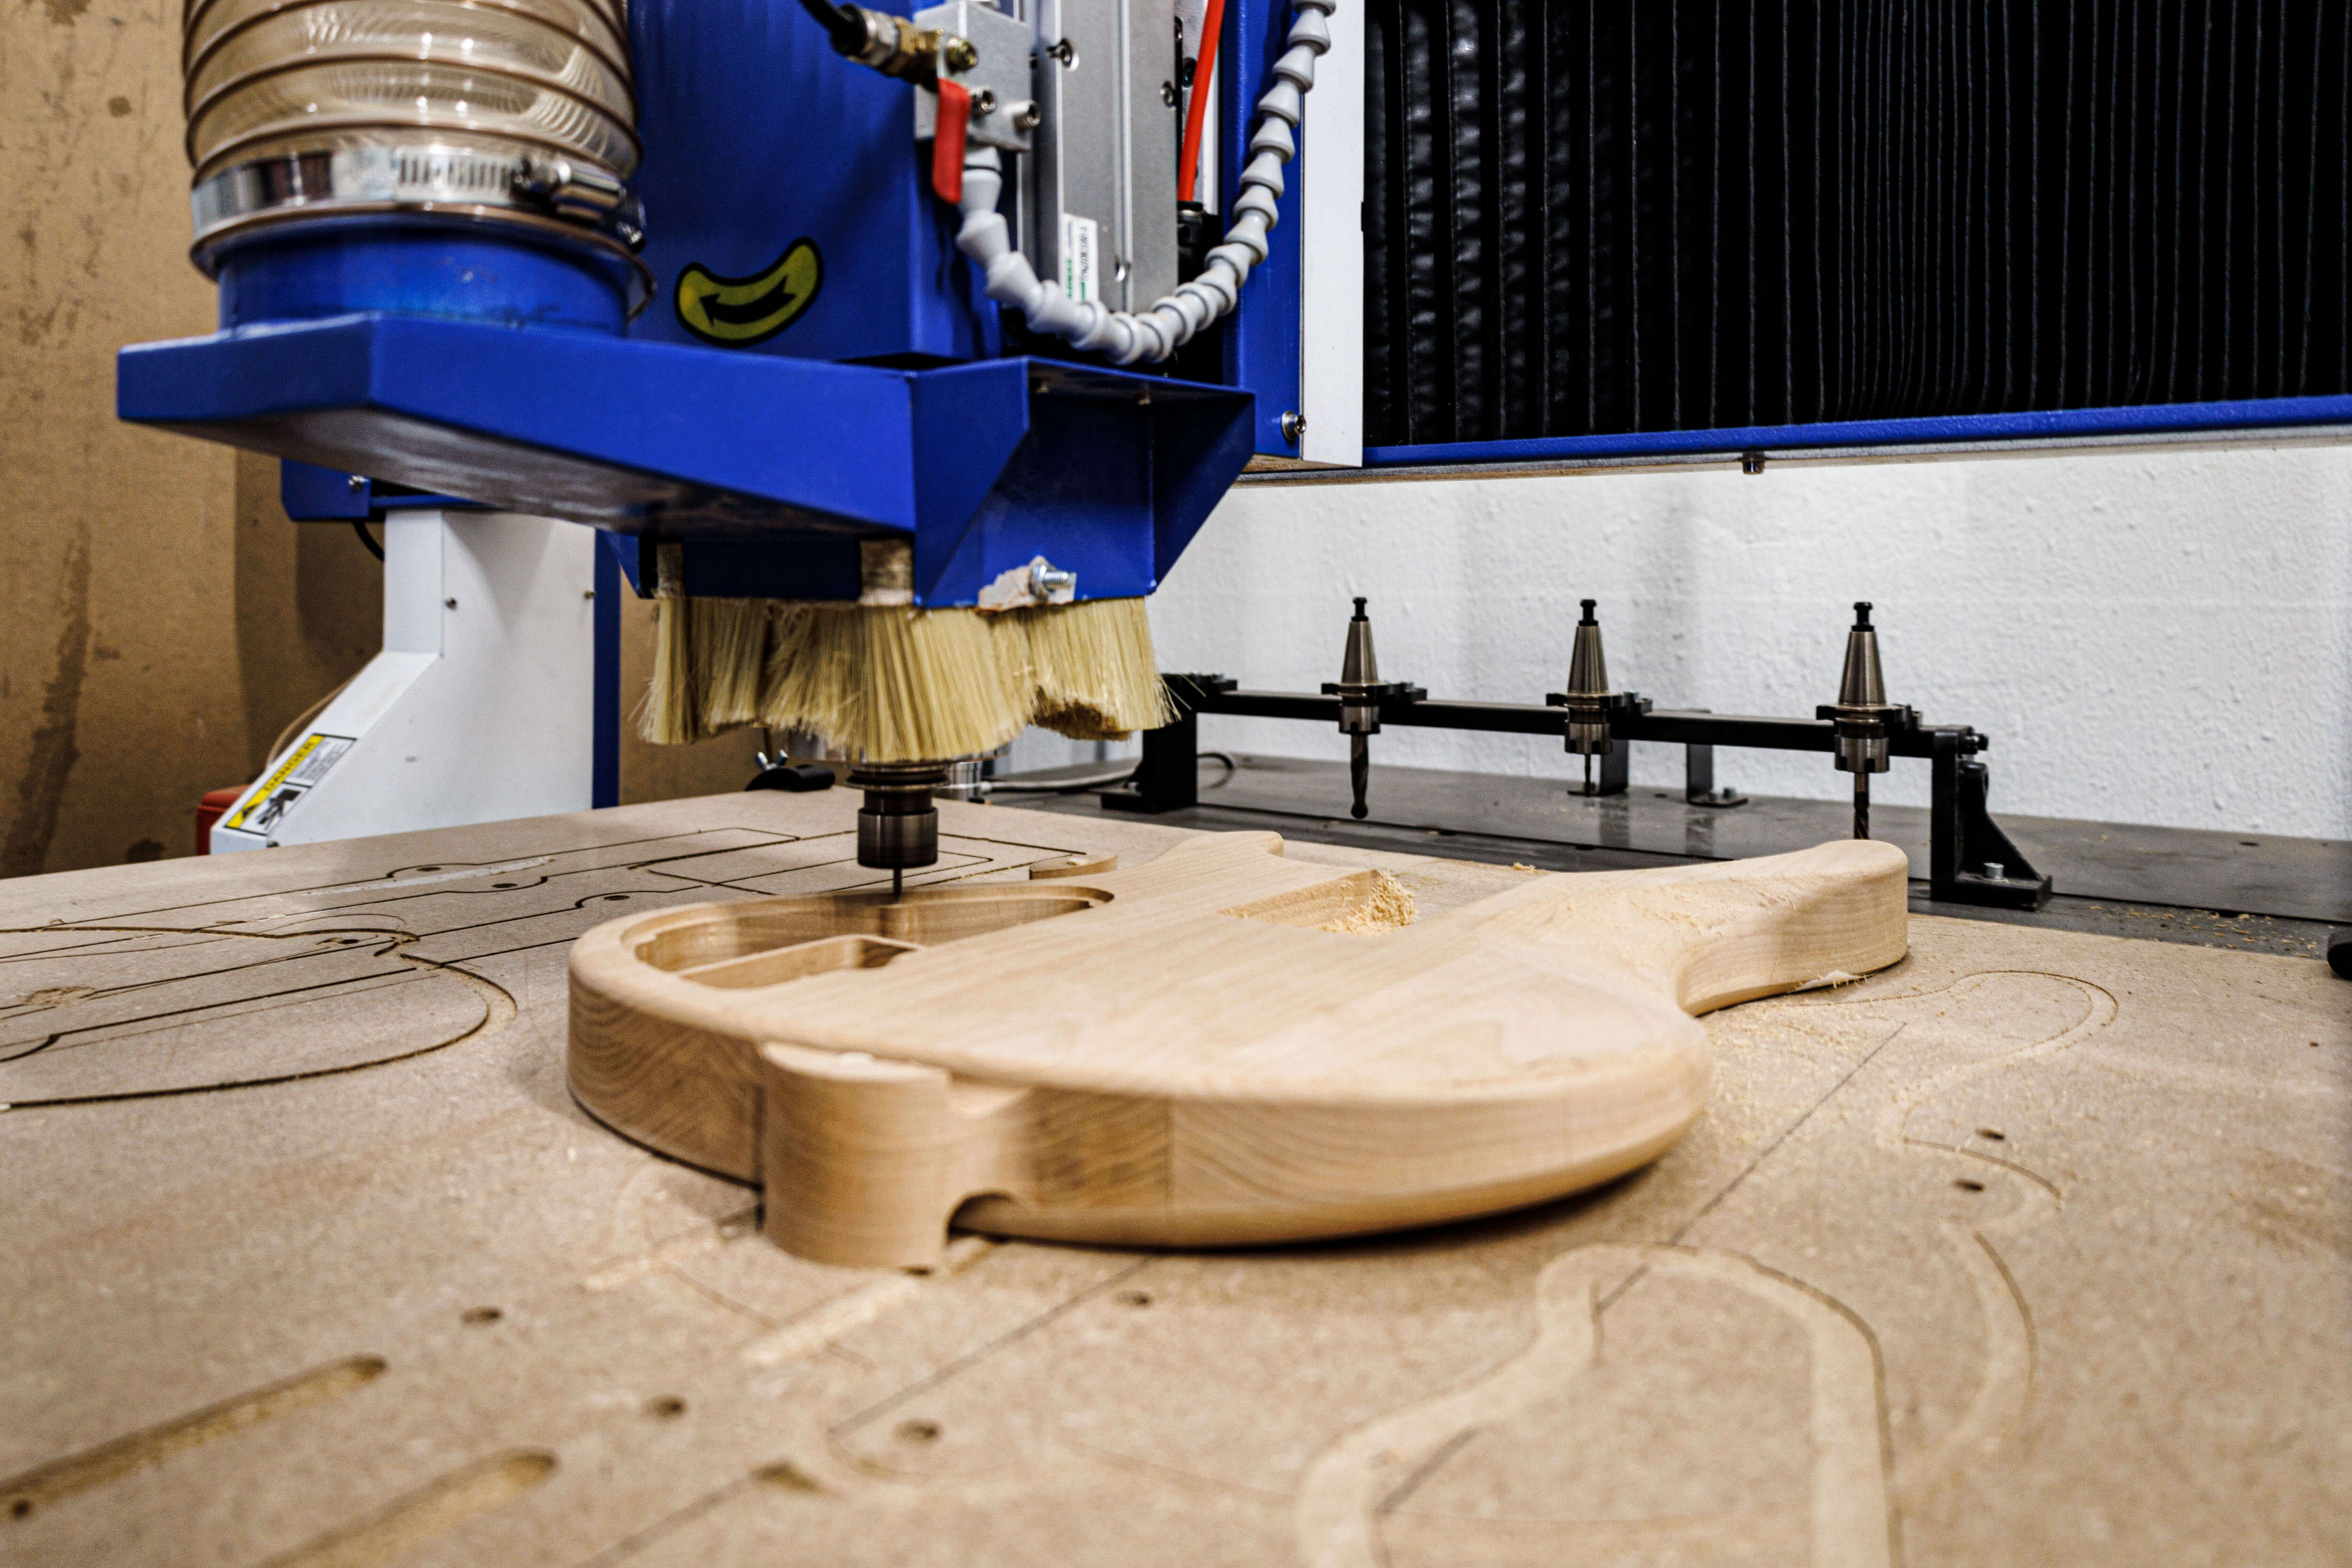
CNC machine carving a wooden guitar body, showcasing Belforti craftsmanship

What You'll Learn

Throughout the course, you’ll acquire professional-level techniques, including:

  • Routing the body and neck from blanks using jigs and templates
  • Truss rod installation and fretboard assembly
  • Neck carving, body contour shaping, and ergonomic profiling
  • Fret slotting, fret installation, leveling, crowning and polishing
  • Polyurethane satin finishing with sealing and buffing steps
  • Wiring and soldering of standard guitar/bass electronics
  • Final assembly, stringing, intonation and complete setup
  • Introduction to CNC processes for precision parts like tuner holes and truss rod channels

You’ll not only build a guitar — you’ll understand how and why guitars are built the way they are, and how geometry, material, and feel all interact to create a great instrument.

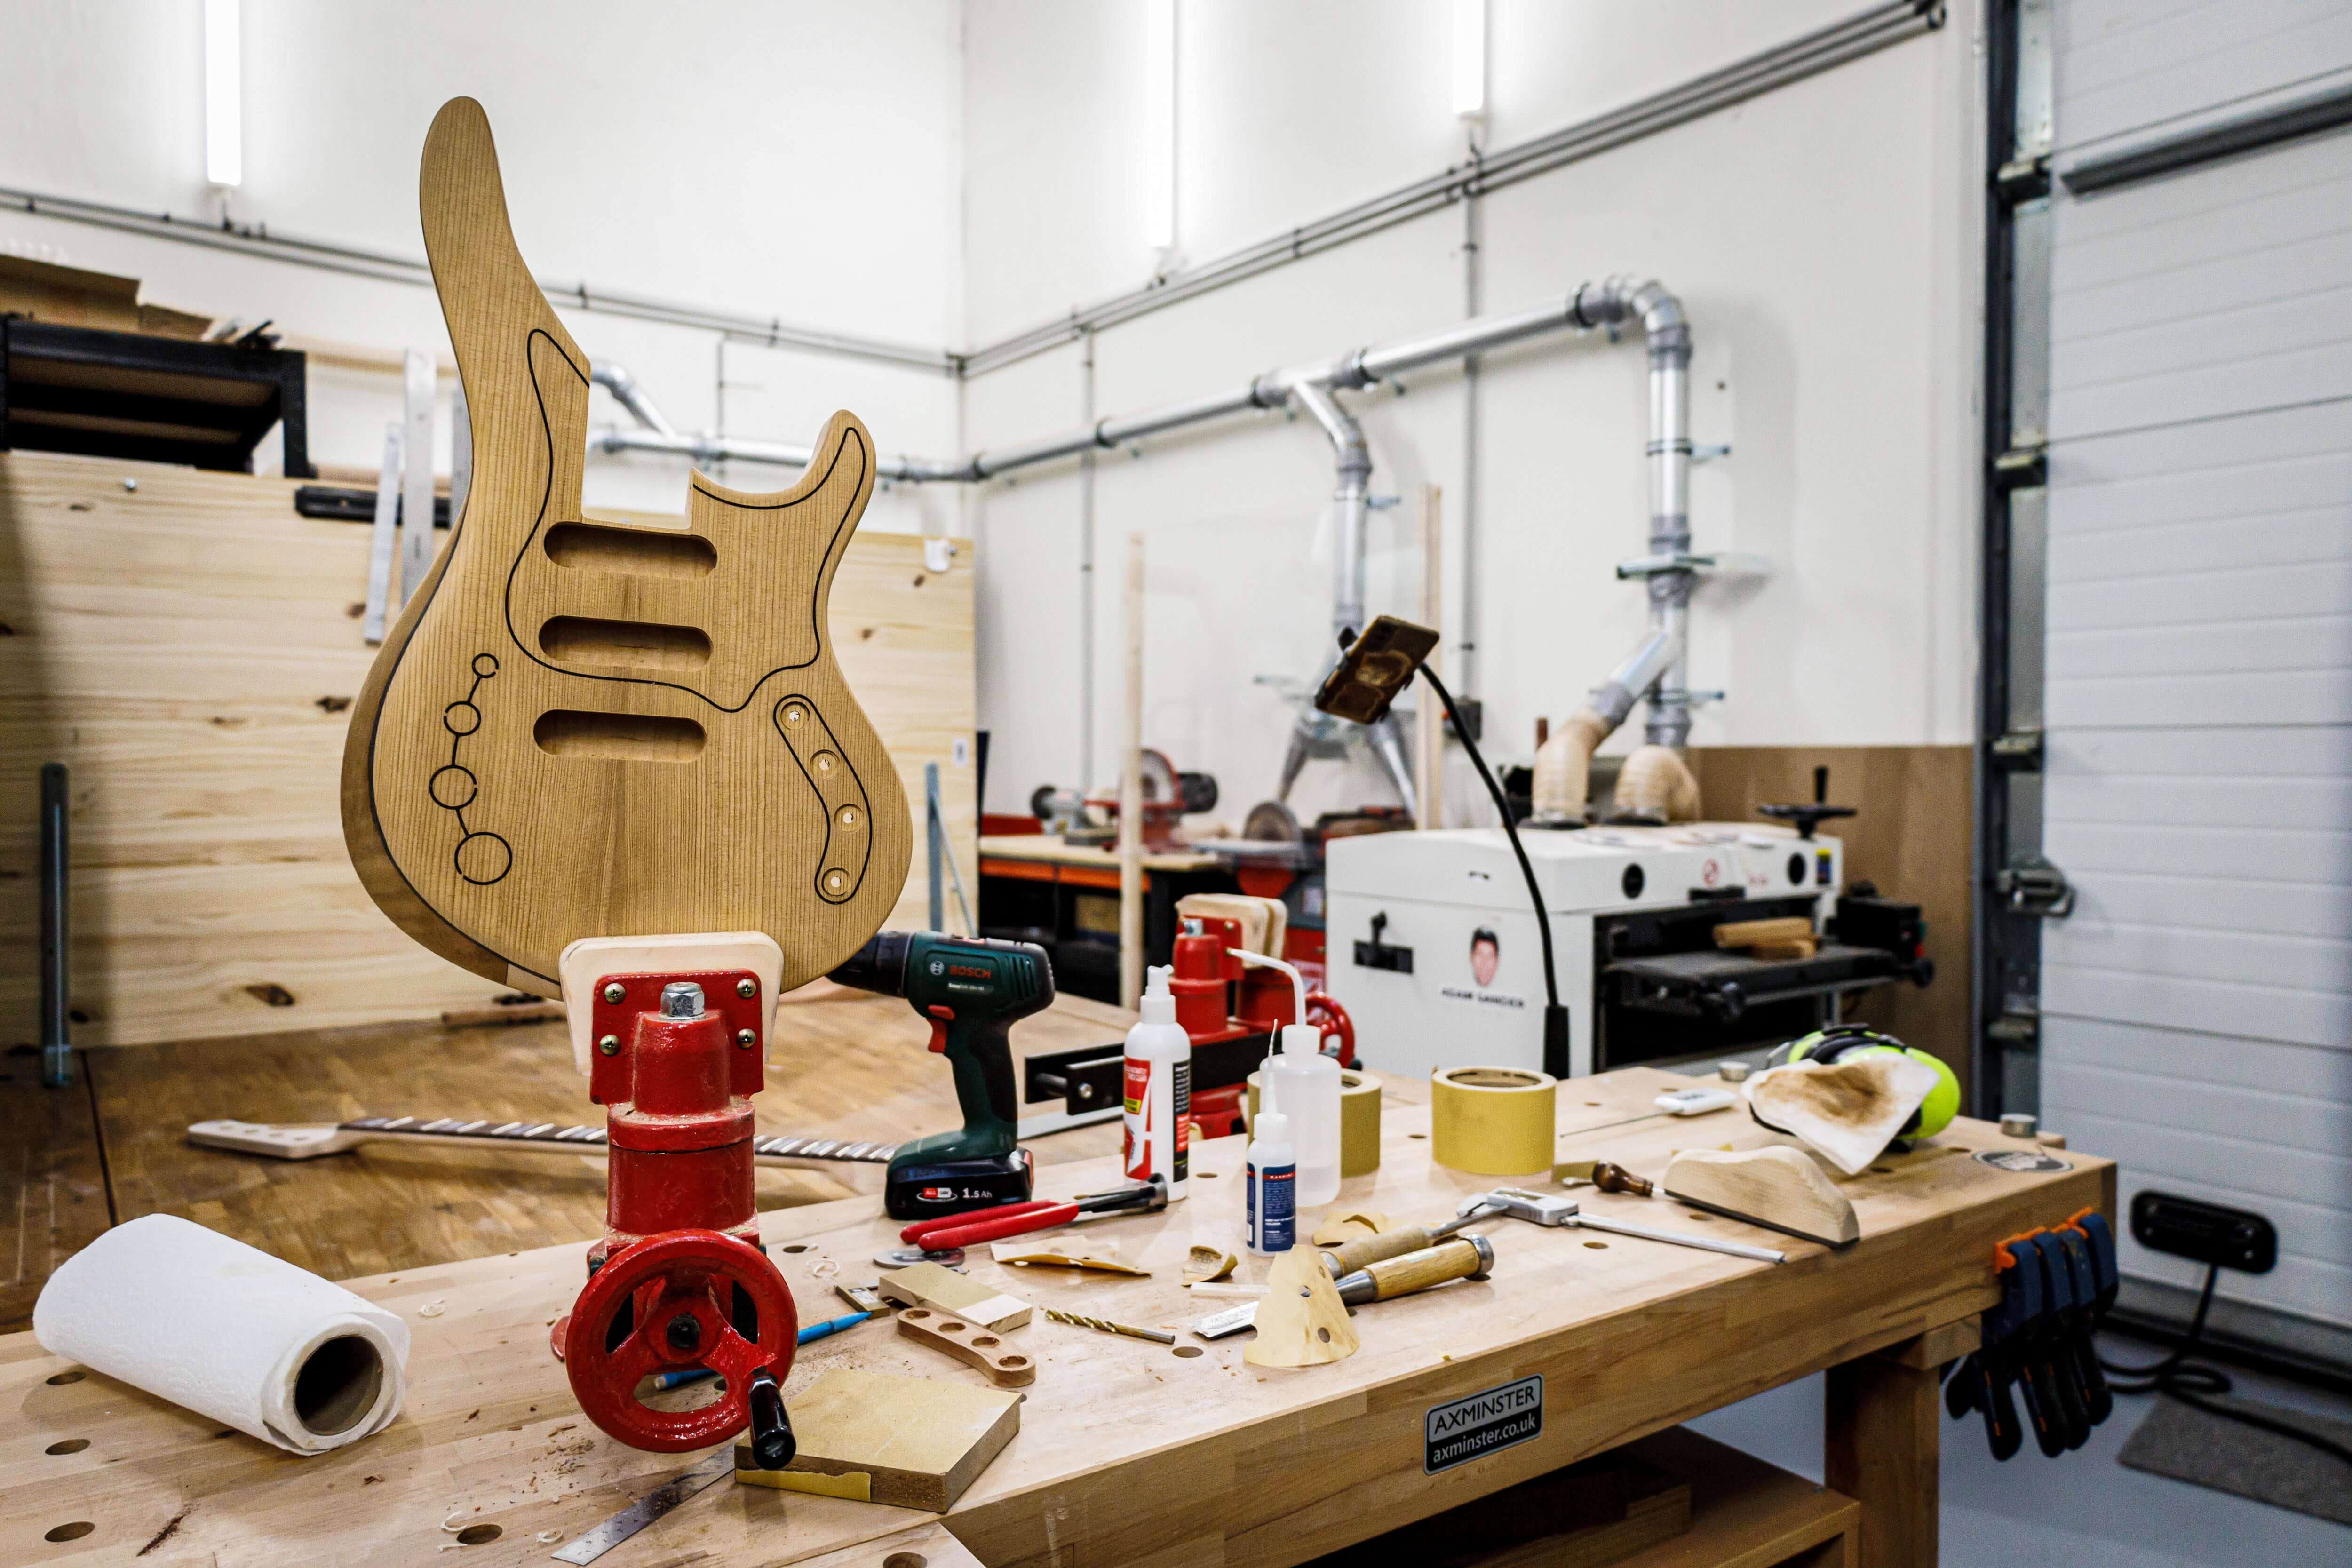
Workshop with unfinished guitar and tools on workbench, highlighting Belforti craftsmanship

What You’ll Build

Each instrument is built using premium materials and smart structural design. You’ll start with:

  • A raw alder body blank, already rough-cut to the classic shape
  • A maple neck blank paired with your choice of fretboard
  • Premium hardware (tuner set, bridge, control plate) and electronics
  • Polyurethane satin finish with a clean, modern feel

You’ll leave with a fully assembled, finished and professionally set-up guitar or bass, ready for stage or studio — and made by your own hands.

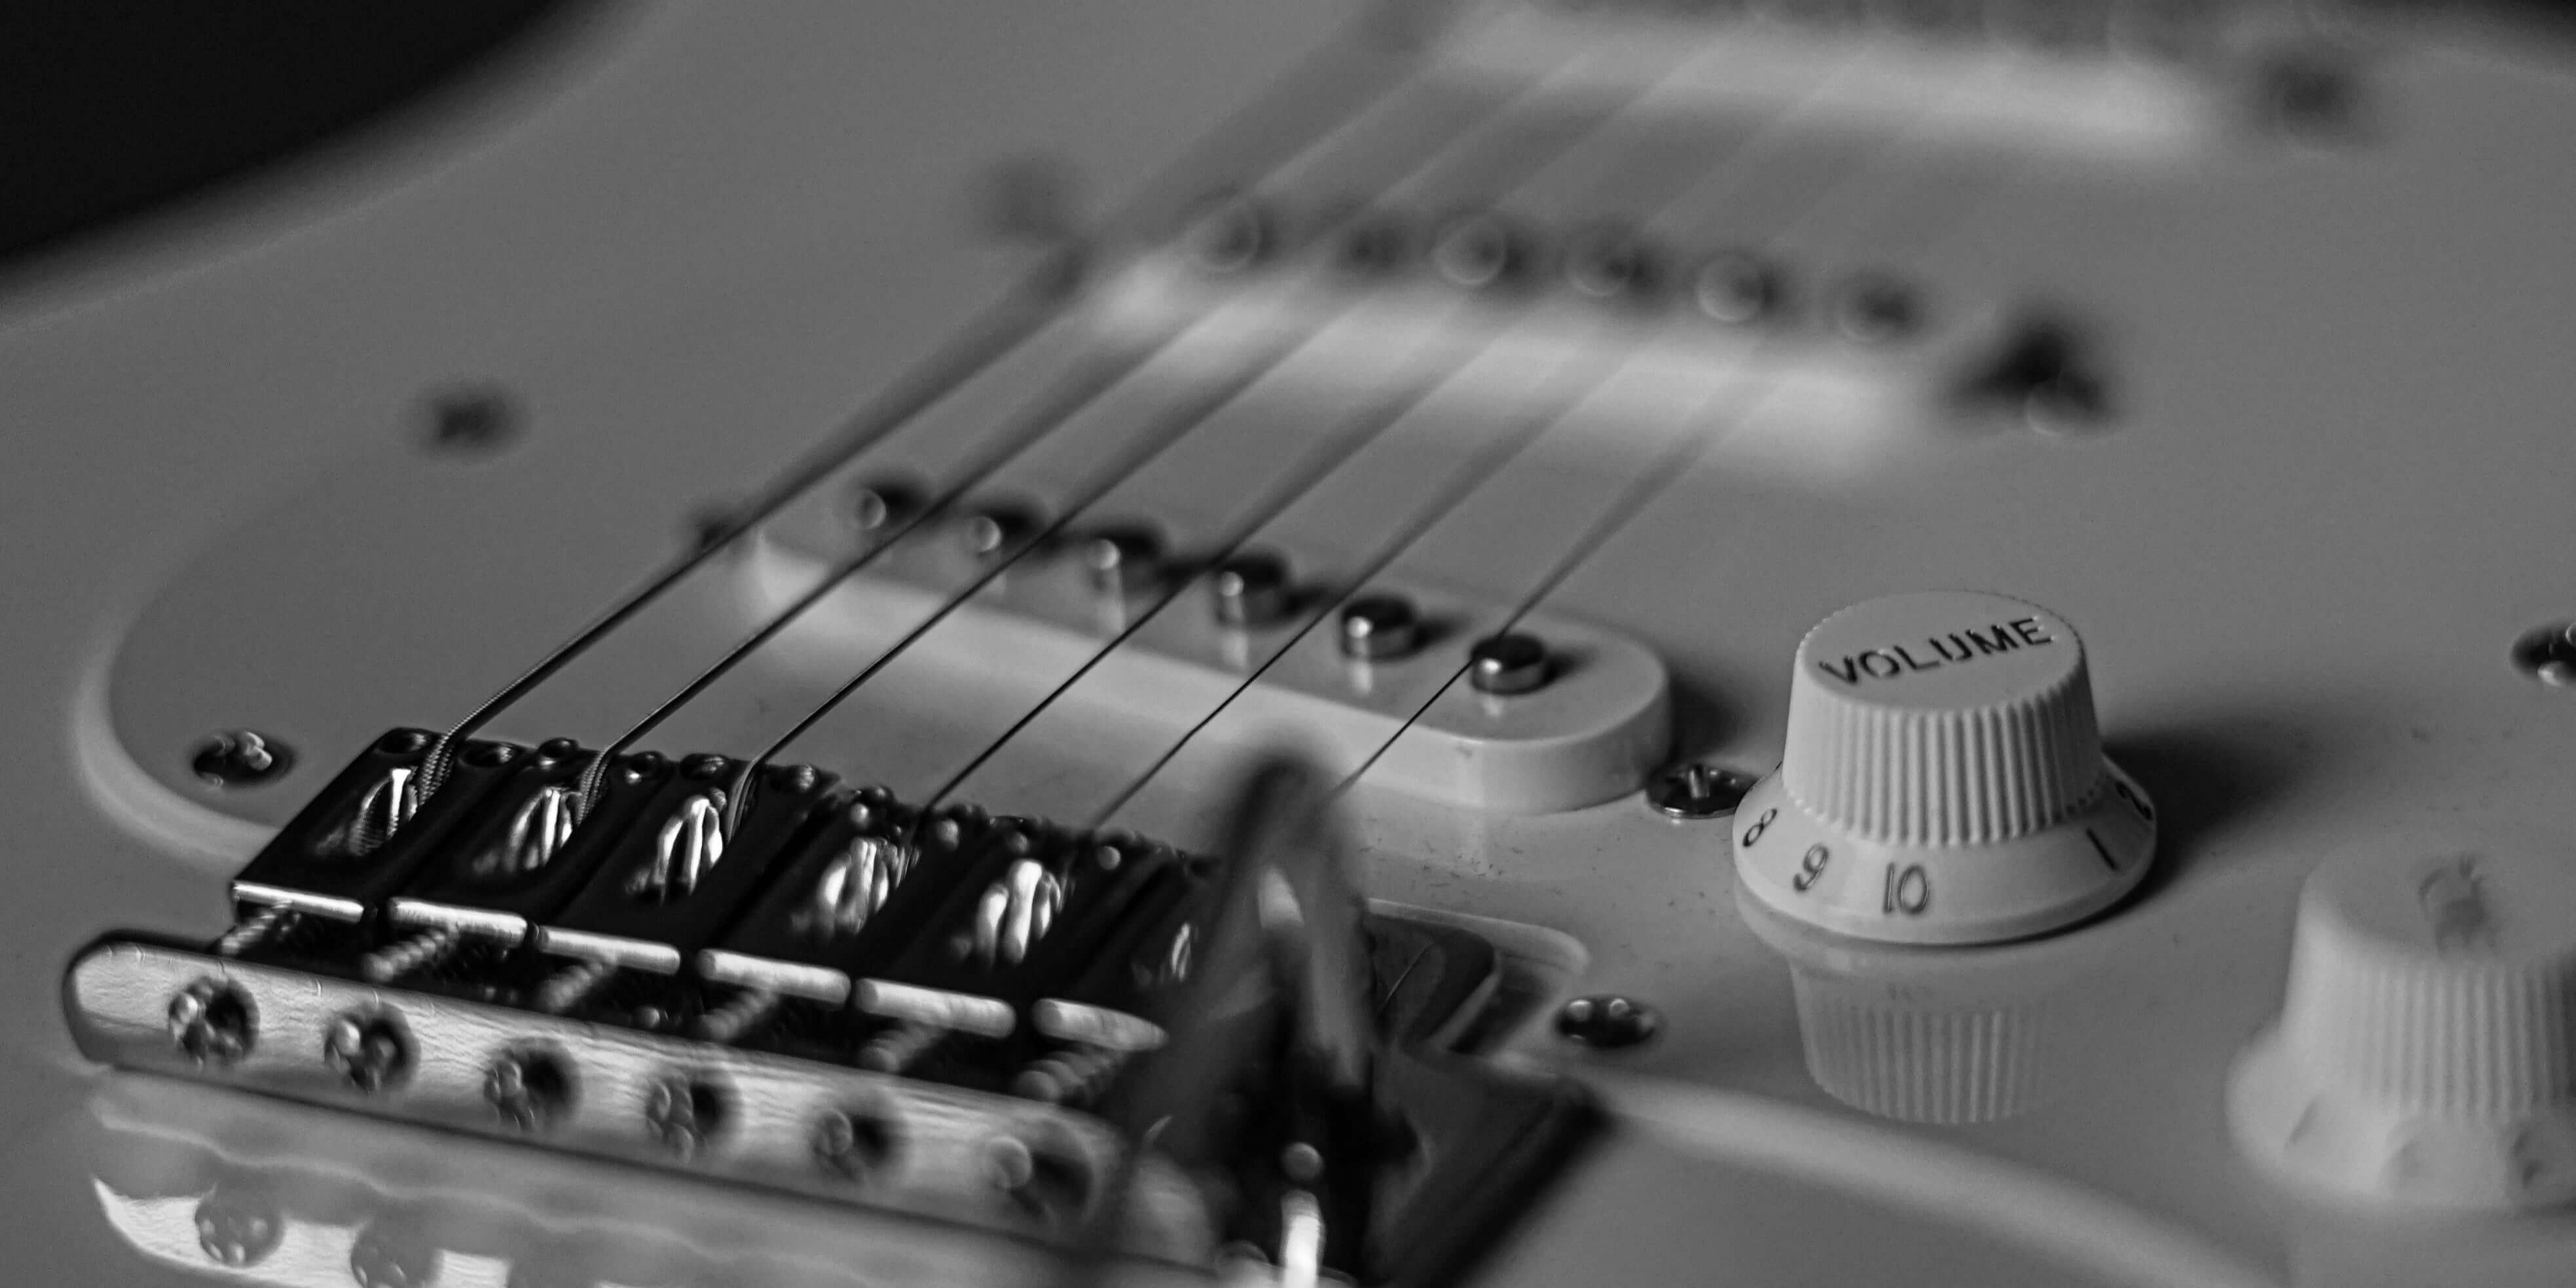
Close-up of an electric guitar with focus on strings and volume knob, captured in black and white.

What You Can Personalize

You’ll work from a clean, professional base — but still leave your mark. Each participant chooses from:

  • Instrument model: Strat, Tele, Jazz Bass or Precision Bass
  • Fretboard material: Maple or Rosewood
  • Hardware finish: Chrome, black, or gold
  • Pickguard and control plate look: Optional variations
  • Strings and pickups: Bring your preferred set if you like (standard format only)

Hardware components — bridge, tuners, controls — are standardised for performance, compatibility and course pacing. But the final look and feel of your instrument is yours to define.

Want More? Add the 3-Day Premium Extension

For those seeking a more boutique-level result, a 3-day extension adds:

  • Hidden fret tangs for a perfectly clean fretboard edge
  • A custom-designed inlay motif
  • A more refined setup and final touch-up phase

This is ideal for students who want to push the finish and detail a step further without committing to a full custom program.

Week by Week Program

Week 1

Day 1 — Orientation & Lumber Prep

  • Safety briefing
  • Selecting body & neck blanks
  • Jointing & planing (supervised)
  • Template tracing
  • Bandsaw rough-cutting
  • Understanding grain behavior and machining strategy

Day 2 — Body Perimeter & Cavities

  • Template alignment & clamping
  • Routing body perimeter in passes
  • Routing pickup cavities
  • Routing control cavities
  • Drilling output jack holes
  • Routing neck pocket (tight-tolerance operation, supervised)

Day 3 — Neck Build (Part 1)

  • Truss rod channel routing
  • Truss rod installation
  • Fingerboard prep & gluing
  • Side dot drilling
  • Fingerboard cleanup

Day 4 — Neck Build (Part 2)

  • Rough neck outline cutting
  • Headstock thicknessing & shaping
  • Carving the neck profile (rasps, spokeshaves, scrapers)
  • Heel shaping & transitions

Day 5 — Body Contours & Sanding Prep

  • Forearm contour
  • Belly cut
  • Edge roundover
  • Sanding workflow (80 → 120 → 180 grit)
  • Neck refinement

Day 2

Day 6 — Fret Installation

  • Cleaning fret slots
  • Cutting & prepping fretwire
  • Installing frets (hammer or press)
  • End trimming
  • First levelling pass if required

Day 7 — Neck Final Carving & Sanding

  • Profile refinement
  • Transition smoothing
  • Headstock detailing
  • High-grit sanding (220 → 320)

Day 8 — Final Sanding & Surface Prep

  • Body & neck sanding complete (180 → 240 → 320)
  • Raising grain, inspection
  • Masking cavities and pocket

Day 9 — Satin Finish Application

  • Single-coat satin finish application (oil/PU depending on your workflow)
  • Handling, drying, and curing considerations
  • Students work on electronics & hardware prep during drying phases

Day 10 — Hardware Drilling & Alignment

  • Bridge alignment and drilling
  • Neck mounting hole prep
  • Tuner holes
  • Pickguard and control plate fit
  • Shielding (if required)
  • Strap button installation

Day 3

Day 11 — Electronics Module

  • Soldering fundamentals
  • Wiring Strat, Tele, JB, or PB layouts
  • Grounding and shielding logic
  • Continuity testing
  • Debugging

Day 12 — Assembly (Part 1)

  • Tuner installation
  • Neck installation
  • Bridge installation
  • Pickguard wiring integration
  • Control plate setup

Day 13 — Assembly (Part 2)

  • Full dry fit
  • Adjusting hardware alignment
  • Fret polishing sequence
  • Nut slot shaping (light refinement)
  • First string-up

Day 14 — Professional Setup

  • Truss rod adjustment
  • Action and bridge height
  • Intonation
  • Pickup height tuning
  • Feel optimisation & mechanical stability checks

Day 15 — Final QC & Delivery

  • Satin finish touch-ups
  • Final cleanup & playability check
  • High-quality photographs
  • Certificate of completion
  • Debriefing & next steps for continued learning